
3
Min Read

On most branded products the logo has a standard home: the left chest on a shirt or polo, the front panel on a cap, the centre of a tote, and the straight wrap section on a bottle. Getting the position and size right is what separates branded kit that looks considered from kit that looks off. A logo placed well gets seen and read at a glance; one placed badly gets hidden by a seam, a strap or a pocket, or warps on a curve.
This is a reference guide to logo placement: standard positions and sizes product by product, plus the things that quietly break a placement. Placement is half the job. The other half is decoration method, which our guide to printing your logo on products covers in full. The sizes below are adult starting points; scale them up slightly on larger garments and always check against the actual product template.
Logo placement cheat sheet
The quick answer for every common product. Sizes are typical adult ranges in inches, with centimetres in brackets.
Product and position | Typical size | Where it sits | Watch out for |
Shirt, left chest | 3 to 4 in (8 to 10 cm) wide | 3 to 4 in below the collar seam, 3 to 4 in from centre | Riding into the collarbone; the "belly logo" if too low |
Shirt, full front | 10 to 12 in (25 to 30 cm) wide | Top 3 to 4 in below the collar, centred | Platen limit around 14 in; side seams |
Shirt, full back | 10 to 14 in (25 to 36 cm) wide | Top 6 to 8 in below the collar, centred | Side seams; hoods on hoodies |
Sleeve | 2 to 3.5 in (5 to 9 cm) wide | Centred, about 1 in above the hem or 2 to 3 in below the shoulder seam | Wrapping to the underarm |
Back neck (nape) | 2 to 3 in (5 to 8 cm) wide | 1 to 2 in below the collar, centred | Small, simple marks only |
Polo or golf shirt, left chest | 3 to 4 in (8 to 10 cm) wide | Aligned to the placket, 3 to 4 in below the shoulder | No centre chest: the placket splits it |
Hoodie, left chest | 3.5 to 4 in (9 to 10 cm) wide | Slightly higher, above the pocket seam | A centre-front zip splits a chest logo |
Cap, front | Up to 2 to 2.5 in tall x 4.5 to 5 in wide (6 x 12 cm) | Centred on the front panel | Structured panel seams limit the area |
Cap, side | Up to 2.5 in (6.5 cm) wide | On the side panel, above the seam | Small marks only |
Cap, back | Up to 3.5 in (9 cm) wide | Above the closure, arched or straight | The adjustable strap gap |
Tote bag | 8 to 10 in (20 to 25 cm) wide | Centred on the panel, slightly above middle | Handles and side seams |
Backpack | 4 to 6 in (10 to 15 cm) wide | Front panel or pocket, centred | Straps, zips and curved panels |
Bottle | 2 to 3 in (5 to 8 cm) tall; width = wrap minus a gap | On the straight section only | Tapered shoulder, base and any weld line |
Mug | 3 to 3.5 in (9 cm) wide per side | One or two sides, or a full wrap | Handle clearance |
Logo placement on shirts, polos and hoodies
On apparel the logo goes on the left chest for subtle branding, or full front and full back when the design is the point. The left chest is the most common placement and the least forgiving, since a small shift reads as a mistake. For the wider design picture, our corporate t-shirt design guide covers fabric, fit and print method alongside layout.
Chest logo placement
A left chest logo is 3 to 4 inches (8 to 10 cm) wide, positioned 3 to 4 inches below the collar seam and 3 to 4 inches from the centre of the shirt. Keep the maximum around 4 inches: wider starts to crowd the armhole. On women's cuts, raise it about an inch for a balanced look, and on a V-neck drop it an inch or two to clear the deeper neckline. Measure from the high point of the shoulder for consistency across sizes.
Diagram to add: front view of a tee, left-chest zone boxed and dimensioned, arrows for "3 to 4 in below collar", "3 to 4 in from centre", and "3 to 4 in wide".
Full front and centre chest
A full front design starts around 10 to 12 inches (25 to 30 cm) wide with its top 3 to 4 inches below the collar. A centre chest logo is smaller, roughly 6 to 10 inches, and suits retail or family-style tees. Both are for crew-neck tees and sweatshirts, not polos, because the placket interrupts the centre line.
Diagram to add: front view showing the full-front bounding box and the smaller centre-chest box, both with the "top 3 to 4 in below collar" drop line.
Sleeve, back and nape
Sleeve logos run 2 to 3.5 inches (5 to 9 cm) wide, centred about an inch above the hem on short sleeves, or 3 to 4 inches above the cuff on long sleeves. A full back sits 6 to 8 inches below the collar at 10 to 14 inches wide; a small nape logo sits 1 to 2 inches below the collar and works only for simple marks. Sleeves and backs are ideal for a secondary, department or sponsor mark that supports the main chest logo.
Diagram to add: back view with full-back and nape zones dimensioned, plus a sleeve inset showing the "1 in above hem" line.
Polo and golf shirt logo placement
On a polo or golf shirt the logo goes on the left chest only, 3 to 4 inches (8 to 10 cm) wide and aligned to the button placket, because the placket rules out a centre chest position. The sleeve is the natural spot for a second mark, which is why polo programmes for multi-site teams often pair a chest logo with a sleeve badge. On performance golf fabrics, embroidery is standard, though very technical or waterproof fabrics can favour a heat transfer to avoid needle holes, so confirm the method with your supplier. This is the answer to the common question of logo placement on polo shirts: chest and sleeve, never centre.
Diagram to add: front view of a polo with the placket marked, left-chest logo aligned to it, and a sleeve-badge callout.
Pocket logo placement
When a shirt has a chest pocket, the logo goes on the pocket itself, centred and sized to fit within it, or above the pocket seam if you want it in the usual left chest position. What does not work is placing a standard left chest logo over a pocket, where it lands half on fabric and half on the seam. On a hoodie with a kangaroo pocket, raise the left chest logo so it sits clearly above the pocket opening.
Diagram to add: two small front views side by side, one with the logo on the pocket, one with it raised above the pocket seam, with a red cross on the "over the seam" version.
Logo placement on caps and hats
On a cap the main logo goes on the front panel, centred, with the side and back available for smaller secondary marks. Front embroidery runs up to about 2 to 2.5 inches tall and 4.5 to 5 inches wide (roughly 6 by 12 cm), but on a structured cap the panel seams cap the usable area, so keep the design clear of them. A side logo maxes out around 2.5 inches (6.5 cm) wide, and a back logo around 3.5 inches (9 cm), arched or straight above the closure. For a breakdown of cap styles and how each carries a logo, see our guide to custom caps and bucket hats.
Diagram to add: three cap views (front, side, back) with the embroidery zone on each boxed and its maximum dimensions labelled; mark the front panel seams as limits.
Logo placement on bags
On a tote the logo is centred on the panel, sitting slightly above the middle so it stays visible when the bag is carried and the base sags. Keep it 8 to 10 inches (20 to 25 cm) wide with clear space from the handles and side seams. On a backpack the logo is smaller, 4 to 6 inches on the front panel or a pocket, and here straps, zips and curved panels are the constraint, so pick a flat area and keep clearance around fittings.
Diagram to add: a tote front with the centred logo zone dimensioned and handle-clearance margins shown, plus a backpack front marking a safe flat zone away from straps and zips.
Logo placement on bottles, mugs and drinkware
On a bottle the logo goes on the straight cylindrical section, never across the tapered shoulder or base where a flat design distorts. Print height is usually 2 to 3 inches (5 to 8 cm), and a wrap should stop short of a full circle so the two ends do not meet and misalign, leaving a small gap. Avoid any moulding seam or weld line. On a mug, use one or two side prints around 3 to 3.5 inches wide, keeping clear of the handle, or a full wrap if the artwork suits it. Laser engraving on stainless bottles and full-colour print on ceramic mugs are the usual methods.
Diagram to add: a bottle side view with the straight print zone boxed and the taper areas shaded as "avoid", plus a top-down wrap diagram showing the gap where the wrap ends.
What breaks a logo placement
Most placement problems come down to the same handful of obstacles. Design around these and the rest is straightforward.
Seams. A logo crossing a shoulder, side or panel seam distorts and misaligns. Keep about an inch of clearance from any seam.
Zips and plackets. A centre-front zip on a jacket or hoodie splits a chest design, and a polo placket splits the centre chest. Use the left chest instead.
Curved surfaces. Bottles, mugs and cap panels curve, so a wide flat logo warps. Limit width and stay on the flattest section.
Pocket interference. A chest pocket blocks the standard left chest spot. Put the logo on the pocket or above its seam.
Detail that is too small. Embroidery loses fine strokes below about half an inch, and no embroidered logo should sit under an inch tall. Simplify the mark or switch to print.
Performance and coated fabrics. Technical, waterproof or very thin fabrics can pucker under embroidery or scorch under heat, so match the method to the material.
How to check placement before you order
Three checks prevent almost every reprint. First, preview the logo on the actual product so you can see the position and scale in context, not just as a flat file. Second, confirm the size against the product's own template, since the available area changes with garment size and cut. Third, for embroidery on a new fabric, ask for a sew-out or a physical sample before a full run, because tension and stitch density behave differently on each material. A signed-off placement, whether a mockup or a sample, is what keeps a large order consistent.
What is Monday Merch Design Studio?
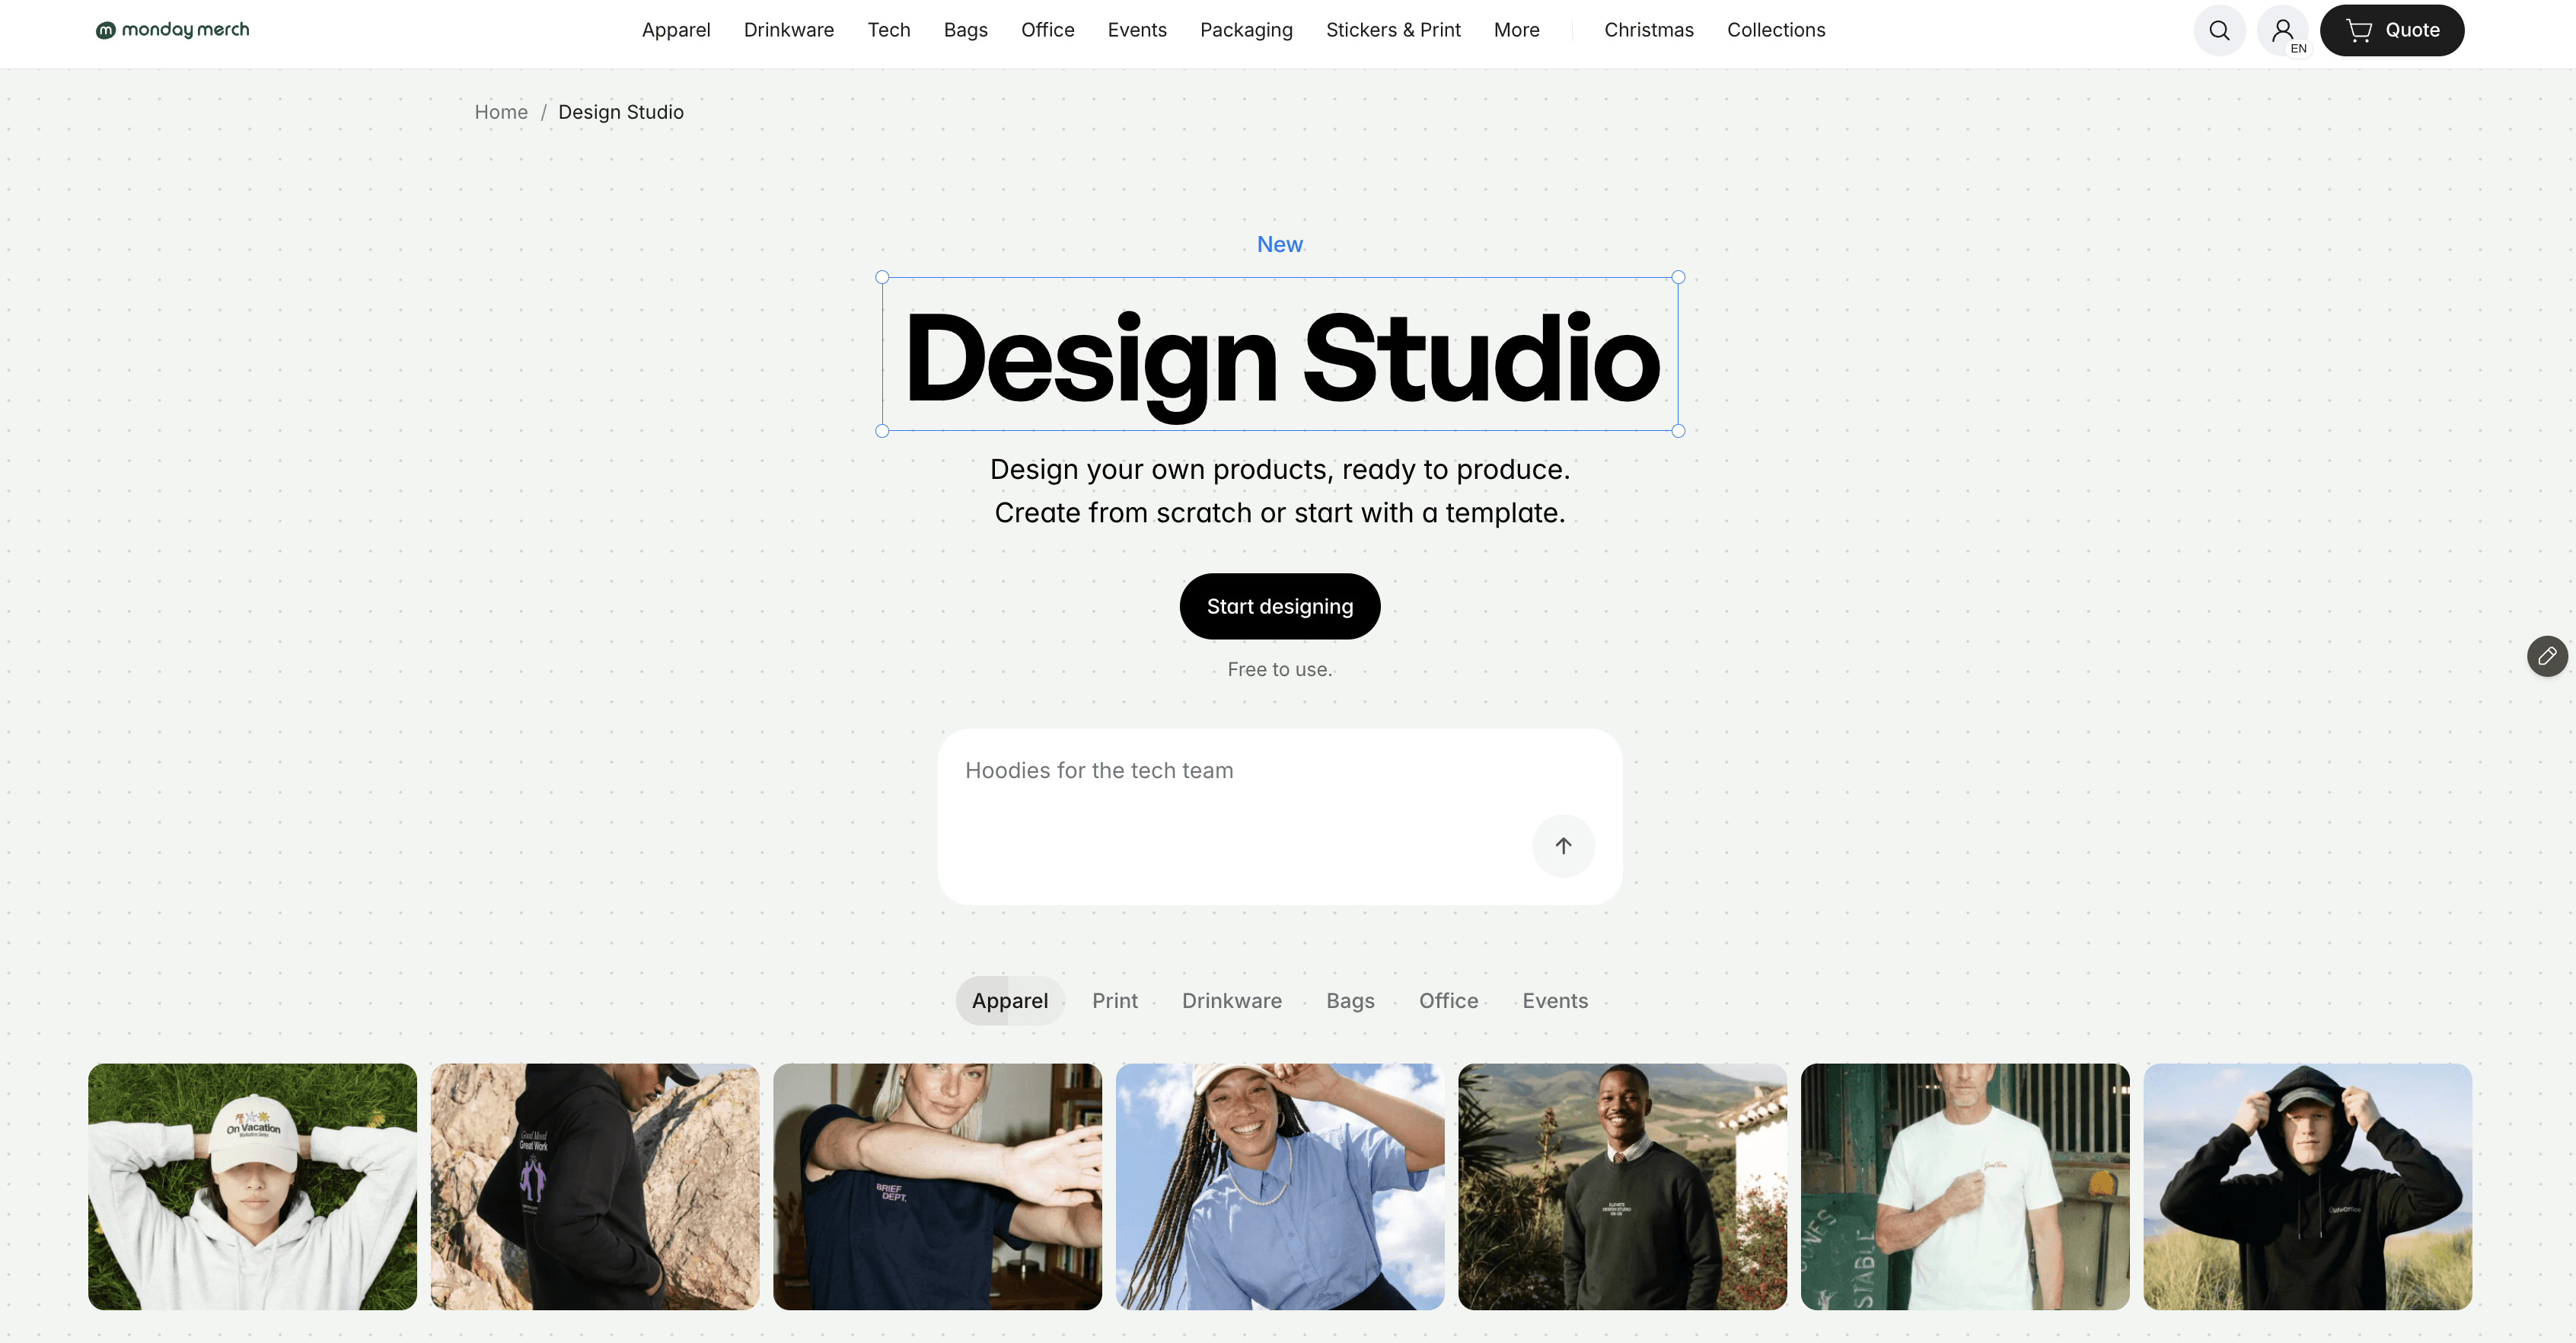
Design Studio is Monday Merch's free, browser-based canvas for designing branded products, launched in 2026. The simplest way to describe it: Figma, but for real merch. You design straight onto the product, add your brand's logos, colours and fonts with a single click through a brand hub, and see the result before you order, with no design skills needed.
It covers more than 1,000 products across apparel, drinkware, bags, tech and office, shows each one from every angle in 2D with a 3D preview on selected items, and updates the price live as you resize or change quantity. It matters for placement in particular because each supplier's printing rules and safe areas are built in, so your logo lands inside the production-ready zone automatically rather than over a seam or off the edge. When a design is ready, you can share a link for your team to review and sign off.
See your logo in place with Design Studio
The fastest way to get placement right is to see it. In Monday Merch Design Studio you can drop your logo onto a real product, switch between front, back and sleeve views, move and resize it within the safe area, and preview the result before you order. Try a few positions, share a link so your team can choose, and when the placement looks right, request a quote and get free design support within 24 hours.
References
ScreenPrinting.com, industry-standard screen-print placements and dimensions (left chest, full front and platen clearance): A Guide to Industry Standard for Screen Print Placements and Dimensions.
Read more about how to effectively use company swag or merch packs for your business.


